How to prepare your bike for Autumn-Winter rides
It's that time of year again. The nights are drawing in and the temperature is falling. have you given any serious thought to riding through the winter months? One of the best reasons to ride through winter is that you burn more calories. So it's a great way to prevent piling on the pounds and ensures that you are faster, fitter, and stronger come the spring. A dedicated winter bike is a great tool for the job, fortunately, all of our bikes are all-season capable and can be adapted for riding throughout the year. How to prepare your bike for Autumn-Winter rides is a guide to help you prepare your bike to cope with the elements.
Those fortunate enough to own multiple bikes will likely have a bike specifically designated for winter rides. Be it that old 'best bike' that's now been relegated to winter duties or a bombproof winter hack bought specifically to keep your best bike, for best.
On the other hand, if you only have one bike, what do you do? Fortunately, there are some simple steps that you can take to make your bike a little more winter-friendly. Consequently improving your riding experience along the way. Here are our top tips for how to prepare your bike for the winter months.
Mudguards
Our carbon models all require an optional brake bridge to attach a rear mudguard.
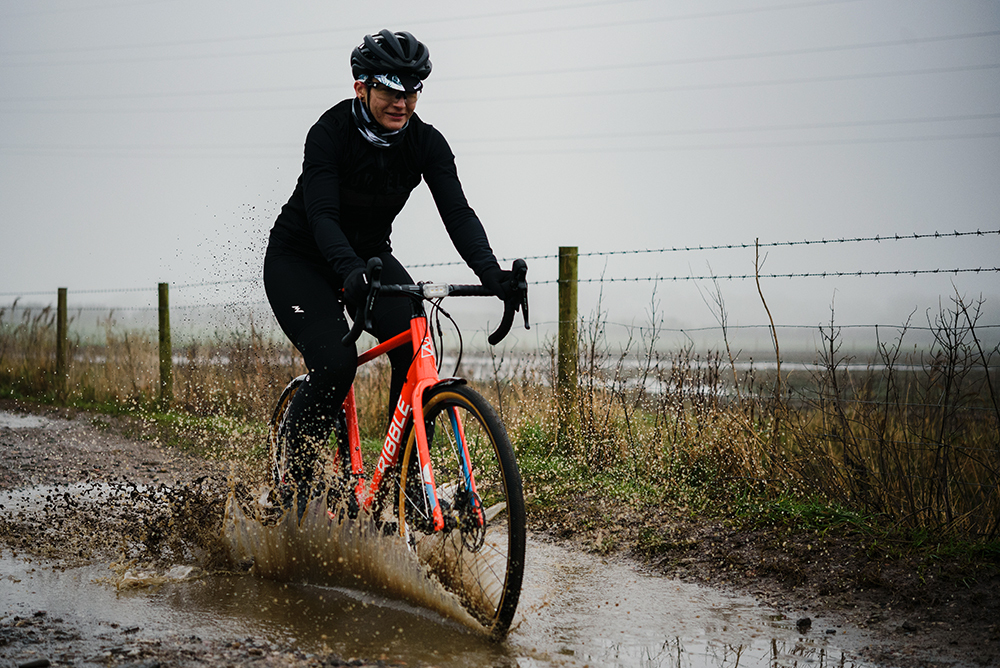
Anyone who has ridden through winter will tell you that the roads can become a little grimy at this time of year. It's common to experience surface water being sprayed up your back. As a result, you end up with a dirty stripe that seems impervious to most washing detergents. However, there is an antidote for this, mudguards! Love them or loathe them, they are incredibly effective at protecting bike, body, and clothing from the uncomfortable effects of road spray.
If you intend to partake of weekly club rides through the winter months mudguards are absolutely essential. Many clubs will insist on guards being fitted. After all, who wants to be sat behind someone whose back wheel is directing a constant stream of water over them? Moreover, if you do turn up for a club ride without mudguards you could find yourself relegated to the tail-end charlie position. Combine mudguards with waterproof socks and overshoes to experience enough warmth and comfort that you can almost forget about how cold or wet it may be.
The really great news is that if you own one of our current range of bikes almost every single one of them has built-in mounts for mudguards!
The CGR AL (left) and Hybrid AL e's huge tyre clearance and mudguard mounts make them a popular choice for winter riding.
Flaptastic protection
Sometimes fitting guards just isn't enough. A good set of mudguards will provide decent coverage, but they don't stop all the spray from hitting the unlucky recipient behind. Fitting a rear mudflap takes care of this. They can be purchased online in a variety of designs. Or if you're feeling thrifty, why not make your own?
Mudflaps can be crafted from many objects, washing up bottles, old water bottles and even worn-out MTB tyres. Simply attach your 'pièce de résistance' to the bottom section of the guard using self-tapping screws.
Toughen up

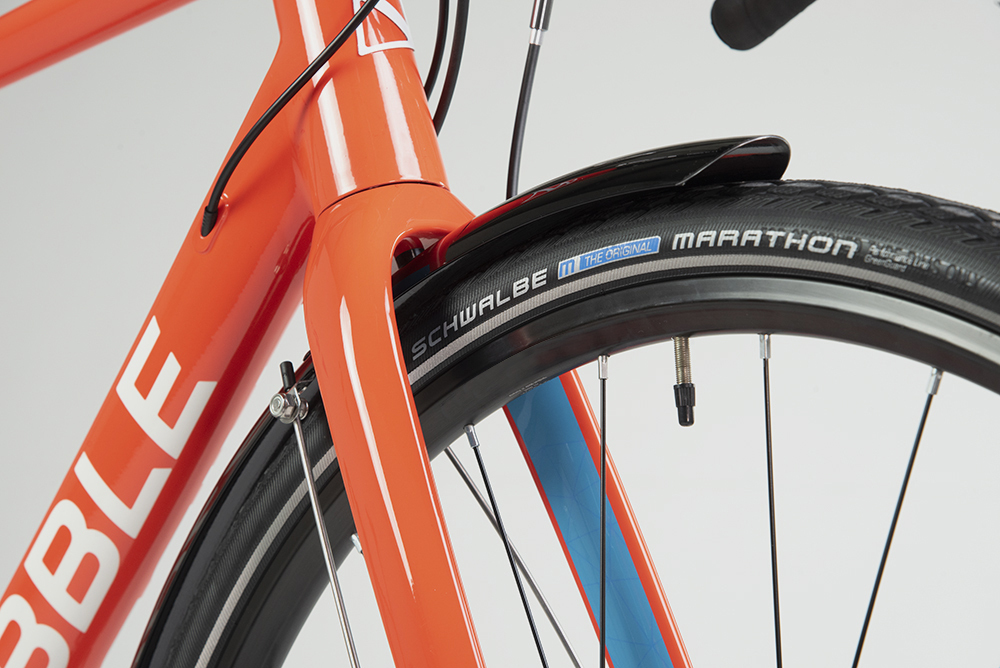
Tyres like Schwalbe Marathon's or Continental Gatorskin's offer plenty of puncture resistance.
The tyres, not you! With the additional grit and debris washed onto the winter roads, a good puncture-resistant tyre is your best friend. After all, who wants to be stuck at the roadside checking the tyre with frozen, fumbling fingers in the dark? If the frame has adequate clearance for mudguards and wider tyres opt for a wider tyre. You will benefit from extra grip and comfort. After all, winter rides are about clocking up the training miles rather than going full gas, right?
Check your tyre clearance
Almost every bike in our range is designed to accept mudguards. The Endurance family of road-optimised bikes offer a tyre clearance of 25mm when mudguards are fitted. The CGR/Gravel family of bikes offer compatibility with mudguards and tyres up to 40mm. Should you need clarification of what tyre size you can run with mudguards fitted, help is at hand. You can check out the FAQ section situated at the foot of the main page of each bike or contact us for assistance.
Lights, lights, baby
It could be argued that lights should be fitted year-round to ensure that you remain more visible at all times. What is definitely not up for debate is that with the hours of daylight being shorter, some decent lights are essential. Even if you are not going to be riding in full darkness, having your lights on during those grey days is highly recommended. Another top tip is to have a backup set of lights just in case you forget to charge them. Similarly for the reason that your battery run's out or is on the blink (pun intended!).
Broadly speaking there are 2 types of lights. Those to be seen by or those to see. If your rides mainly encompass well-lit streets then the former is probably all you will ever need. However, if you regularly ride along country lanes or poorly lit roadways, a high powered front light of at least 800 lumens+ output is the best option. Just remember to dip the beam to avoid burning out other road users retinas!

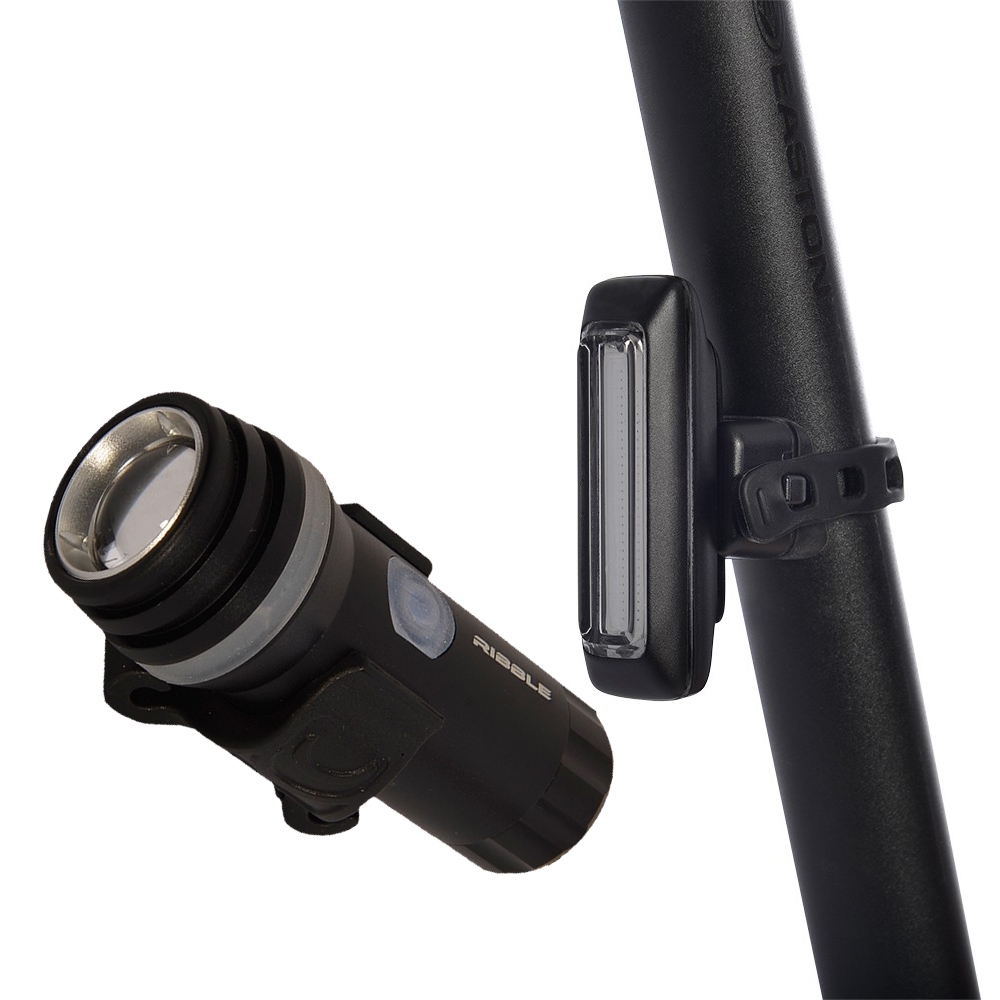
The Ribble UT300/R25 light set is a great option to be seen. A 300-lumen headlight and 25-lumen tail light improve your visibility on the city streets.
Protect your ride
If the cables on the bike are routed externally they are extremely likely to come into contact with the paintwork. The most obvious spot is on the headtube when turning the handlebars causes the cables to chafe on the paintwork. To prevent damage to your pride and joy add some frame protection. You can purchase ready-made patch kits or apply helicopter/gorilla tape. This will protect your paintwork and reduce any cable rattles over uneven surfaces. While you're at it, why not apply some to the crank arms to prevent any overshoe from chafing the chainset?
Keep it clean, keep it mean
Damp weather and road grime are a poor combination for your bike's drivetrain. This is why keeping on top of maintenance after every ride is essential to maintain the bike's efficiency. It's a great idea to give the bike a rinse down after any wet ride. A good wash down with soapy water, rinse off, and then apply some lube to the drivetrain should keep everything ticking over nicely.
Frequently degreasing the chain and cassette before reapplying lube as part of your regular maintenance should also prevent 'ghost shifts'. The occasional squirt of lube down the cables won't hurt either to avoid them becoming sticky and inefficient.
Top Tip: When lubing the chain, pick the right lube to suit the conditions. Wax or dry lubes are great in summer but attract dirt and debris when the roads are wet. A good quality wet lube is water-resistant and won't get washed off when riding through puddles etc.

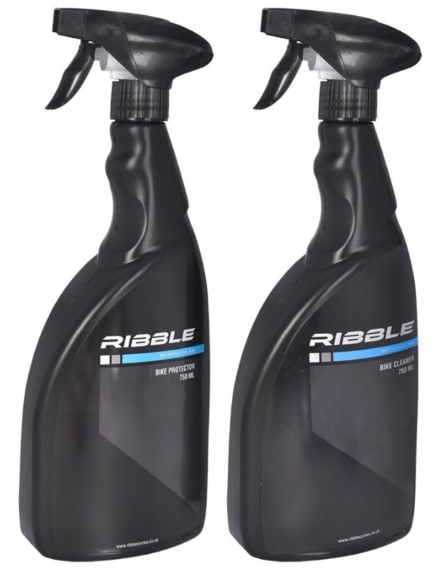
Wash your bike down after any wet or gritty ride with a decent bike wash to get off the worst of the grime build-up that damages components.
Sharing's caring
We hope you've found our how to prepare your bike guide useful and feel a little more motivated to keep up your training through the winter. And remember, winter miles = summer smiles!! Got a handy winter tip of your own? Let us and our fellow readers know in the comments section below.
Recent Posts
Tom Louge was a man who has a bike for every occasion. That was until he found the one bike to replace them all, the CGR SL. Read his story here.
Have you considered going electric? Our blog 'electric bike is it right for you?' dispels the myths and outlines the benefits of e-bikes.

When To Service Your Bike? A Practical Guide for Every Rider
Looking after your bike doesn’t start and end with a clean after riding. Regular servicing keeps it working at its best, no matter how often you ride. The tricky part is knowing when a service is needed. Too early feels unnecessary. Too late and the problems have already crept in. This guide breaks it down simply so you can ride more and worry less.

Best Road Bikes 2026
A clear guide to choosing the right road bike for how you actually ride, cutting through the noise to explain what actually makes a road bike ‘the best’ in 2026.

Shimano 105 - The GOAT Groupset?
Shimano 105 is the groupset riders trust when they want pro-level performance without the pro-level price. With both mechanical and Di2 options now available, it might just be the GOAT. Here’s why.

What is a Gravel Bike?
Gravel bikes are changing how people ride. Sitting right in the middle of road and off-road, they're fast on tarmac and stable on loose ground. Comfortable over long distances and ready for whatever the ride throws at you.

Electric Road Bike vs Road Bike - What's the difference?
Electric road bike vs road bike: what’s the real difference? We cut through the myths and show how e-road bikes stack up against traditional road bikes, rider to rider.

How Far Can an Electric Bike Go? Range, Batteries & Real-World Tips
“How far can an electric bike really go?” In this guide, we’ll break down exactly what determines e-bike range, share practical tips to make every charge go further, and show how Ribble’s electric bikes compare in real-world conditions.

Are e-bikes Just for Old People? Myths Debunked
Think e-bikes are just for old folks, or perhaps you feel e-bikes are cheating? Think again. We’re busting the biggest myths holding riders back from discovering what e-bikes really offer.

Smiles Per Kilo: The Real Benefit of Riding a Lightweight E-bike
What if the real breakthrough in e-bikes wasn’t more watts or bigger batteries, but a ride so light and natural you forget it’s electric until you want the extra push?

Best Electric Bikes for Winter – Top Picks for Road, Gravel & Hybrid Riders
Ride further this winter with the best E-Bikes for road, gravel and hybrid – light, versatile and ready for all conditions.

ULTRA-RACE vs ULTRA-AERO: Which Ribble Race Bike Fits Your Ride?
Two world-class race bikes, two very different strengths - discover whether the ULTRA-RACE or ULTRA-AERO is the ultimate machine for your style of riding.

Do You Really Need a Winter Bike? Benefits, Setup & Key Features
Discover why a dedicated winter bike could be the smartest upgrade you make this year - protecting your best bike, cutting maintenance costs, and keeping you riding strong whatever the weather.

From Gravel to GRIT: Your Guide to Ribble’s New Gravel Ranges
The Ribble Gravel range has evolved into the new ALLGRIT and ULTRA-GRIT families, making it easier than ever to choose the perfect bike for your ride - from adventure-ready versatility to race-day speed, with SPORTFIT flat bar options for added comfort and control.


